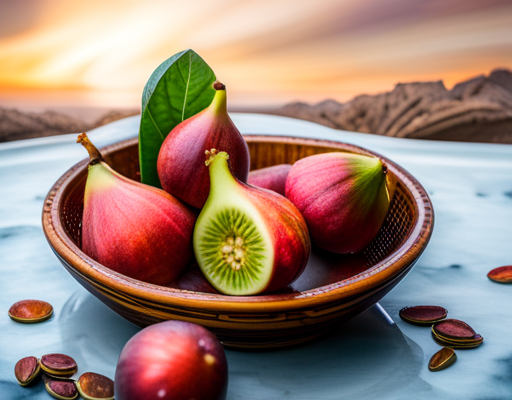
A fantastic approach to keep figs’ sweet and distinctive flavour for a long time is to dry them. While a dehydrator could speed up the method, one may still achieve the same delectable results without one. In this article, we’re going to take a look at some straightforward but effective alternatives to drying figs in a dehydrator.

Why Use Dry Figs?
A flexible and healthy snack, dried figs can be eaten on their own or in a variety of cuisines. Figs can be dried to concentrate their natural sugars and increase sweetness while preserving their distinct flavour and nutritional value. Dietary fibre, antioxidants, and important minerals like potassium and magnesium are all abundant in dried figs.
Method 1: Oven Drying
1. Get the figs ready: The fresh figs should first be well cleaned and dried with a clean kitchen towel.
2. Slice the Figs: Depending on your preference, slice the figs into halves or quarters. The figs will dry more uniformly as a result.
3. Arrange on Baking Sheets. Use parchment paper to cover baking sheets. To ensure sufficient air circulation, arrange the cut figs on the parchment paper without touching.
4. Pre-heat the Oven: Set your oven to the lowest temperature, often around 140°F (60°C). If your oven doesn’t go this low, you can use a little higher heat, but watch the figs carefully to avoid over-drying.
5. Dry in the Oven: Set the fig-filled baking sheets inside the preheated oven. To help with drying, leave the oven door slightly ajar to let moisture escape.
6. Watch and Rotate: To achieve even drying, check on the figs every hour or so and gently rotate or flip them over. Depending on the size and moisture level of the figs, drying might take anywhere from 6 to 12 hours.
7. Check for completion: When the figs are leathery, malleable, but not sticky, they are ready. They shouldn’t still contain any moisture. Remember that after being taken out of the oven, slightly under-dried figs will continue to dry.
8. Let the figs cool completely before storing them in an airtight container after you have dried them to your satisfaction.
Method 2: Sun Dying
- Wash and dry the fresh figs to prepare them.
2. Cut the Figs: Quarter or cut the figs in half.
3. Choose an Appropriate Location: Opt for a sunny, dry area for sun drying. To keep the figs raised and bug-free, use a drying rack, mesh screens, or a clean cloth.
4. Arrange the Figs: Lay the chopped figs on the drying surface without letting them contact.
5. Cover and Protect: To keep the figs safe from dust and pests, cover them with a fine mesh or cheesecloth. Make sure there is adequate airflow to speed up the drying process.
6. Watch and flip: To ensure consistent drying, check the figs every day and flip them over. Depending on the weather, this process could take a few days to a week.
7. Check the figs for doneness: The figs are done when they are leathery, flexible, and free of any moisture spots. They shouldn’t feel tacky when you touch them. 8. Let the figs cool completely before storing them in an airtight container after you have dried them to your satisfaction.
Your Own Homemade Dried Figs, Delicious
In addition to being a delicious snack on their own, homemade dried figs can be used in a variety of dishes, including baked goods, cereal, yoghurt, and salads. Even without a dehydrator, you may enjoy the year-round sweetness of figs by using these substitute drying techniques.

